Aquarium stand with secret door for swamp
Swim to your local pet store and you can spot a lot of aquarium to choose from. But try to find one that will fit a sump water filtration system, another 10 gallon, and you’re likely to come off dry. Go online and find lots of DIY aquarium here. But try a series of instructions that don’t involve 2 out of 4s, cinder blocks, railway sleepers, or other unsightly materials and your choices are very limited. … like a dead fish stinks!
So why my 14 year old son and I decided to swim somewhere else and come up with a design of our own.
Since that design, we’ve built one with an improved design that allows you to place it anywhere, display case lighting, a cord power management, and other additional features. Here is a link to it :, a better than new 125 gallon aquarium stand
Step 1: tools and materials
We used TOOLS
This is the first cabinet I’ve made that so I don’t have a lot of wood shop tools. Many of the tools that we don’t have we just borrowed.
Electric miter saw with graduation blade
Flat dowel router
Clamps
Router and table
circular saw
Table saw with finishing blade
drilling machine
Drill bits and bits
Other typical tools (tape measure, pencil, brush, etc.).
MATERIALS
1 x 4 Pine (8 foot lengths)
1 x 3 jaws (8 foot lengths)
1 x 8 jaws (2 feet)
3/4 “plywood – full sheet
1/4 “plywood – half sheet
4 cabinet hinges (we used the hidden type)
4 cabinet handles
Waterproof wood glue
Primer and varnish
Step 2: the secret
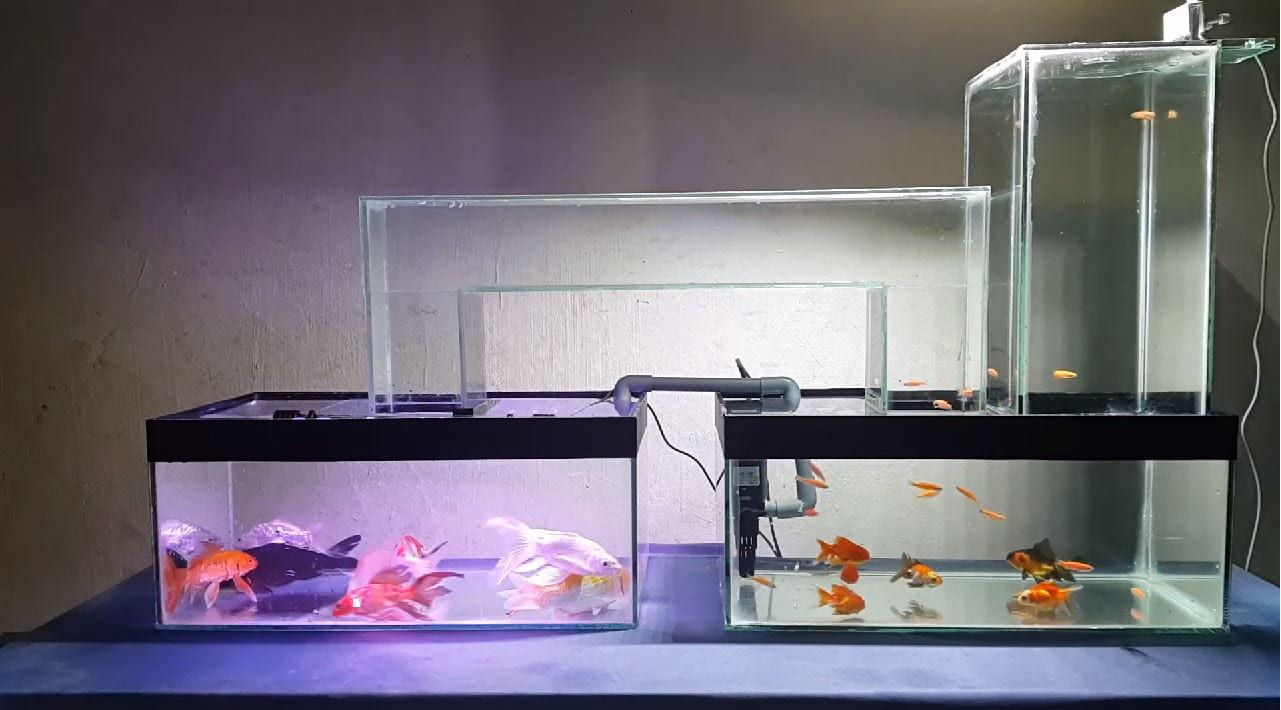
A 55 gallon aquarium, with water that weighs 625 pounds. That’s a lot of weight! And my son and I knew that if the stand fell apart, our household would be at least two victims. And the fish might die. Not to forget, if Mother Shark didn’t kill us, we would still have a very big, expensive, smelly mess to clean up. So we designed the booth with this down load in mind.
The secret to carrying the heavy load is how the top and bottom frames are constructed. To make these pieces we used a router and table that I borrowed from a colleague. With the router, we got the corner of our 1 x 4 “pine boards. Since 1 x 4 is actually only 3/4” wide, we only needed to take 3/8 “(half the width). For those that still have never used a router, remember that you’ll want to pass the wood a small layer at a time. It should take 3 or 4 passes out of 3/8 “of the wood.
Then we have the brand new flat dowel router that I have as a gift and sandwich the boards together. This creates “rabbit ears” for another 3/4 “board to slide in (called a” joint crease “). A retrograde load will not give the joint. A heavy twisting load could easily snap the rabbit ear, but you don’t have to twist it too load when the stand is fully assembled.
Step 3: base and cap
The rack / frame of the aquarium stand is exactly the same as the cap, you just flip the top one over.
To cut the 45 degree angle, you’ll need a miter saw with a finishing blade installed. The regular blade that our powered miter saw came with making the edge look like a shark bite.
Before we started with our first cut, we checked out the miter to make sure it was cutting true 90 ° cuts on the horizontal and vertical axes and in the process learned how to adjust that.
After calibrating and practicing with the saw, we cut our 45 degree angles, being exactly the length you want. That way, you get a healthy amount of respect for the people who make custom picture frames.
Keep on swimming … you have two of these to build.
Step 4: connecting the frames
We have made use of our new flat dowel router. We saw the carpenter on a 45 degree joint and practiced a couple of times. We put a biscuit in all corners, and again used waterproof wood glue and staples to hold it together. The cookies expand when they soak up the moisture from the wood glue, and in my opinion, hold up very well when dry.
Step 5: clamp together
We have a simple jig that will help hold the parts together and take up space while clamping
Step 6: cut plywood sheets and floor
Side panels and back panels are made from 3/4 inch plywood. The bottom is also 3/4 “plywood and it rests on the inner edge of the lower frame.
Step 7: look mom, no glue … yet
Cabinet makers have a few tricks up their sleeve to hide plywood edges. We put a piece of pine in the back corner as shown in the first photo and biscuit it came on the back sheet of plywood.
as soon as you
getting to this point you can start to see how it all fits together before you glue it.
Step 8: front
The faceplate we used dowels to join the edges together. The flat dowel router wouldn’t do this. The instructions on the dowel carpenter tool were written by a Seamonkey, but strangers on the internet came to the rescue with some great tutorials.
Glue the pieces together and clamp in place.
Step 9: cabinet doors
We swam into a neighbor’s house using his table saw with a finishing blade, 1 x 3 pine ribs to the desired width and I create a 1/4 “slot along the inside for the plywood to slide inside.
We have groove and joints to hold the panel frames together. We glue everything in place, then passed the outside edge.
Be careful that you don’t take too much when you forward the outside edge – if you go too deep, the holes for the hidden hinges come through the front.
Step 10: glue, sand, prime, and paint
We glued the pieces in place. He filled cracks flaws with putty, then sanded, wearing a dust mask to keep sawdust out of his gills. Then it semi-gloss painted black with two coats.
Step 11: hinge assembly
Follow the directions for the hinge you choose to install. We used hidden cabinet hinges.
We needed a drill press to drill the 1 1/4 “drilling counter holes for the hidden cabinet hinges because we were afraid of drilling the holes too deep and ruining the cabinet doors.
Since I own a drill, we went to my father’s house to do it.
Step 12: Secret Panel
The secret door gives you access to the oil pan. To do this, after measuring the desired position, we screwed a 1 x 8 “black, painted board to two cabinet doors. The board must be cut about an inch shorter than the cabinet doors and slightly less than your cabinet opening to fit snugly in place.
We have cabinet magnets to hold on to the top panel. It snaps on and off like we’d hoped.
Step 13: swim
That was a fun project. In the process, my son and I learned a lot about closet making. Unlike anything you could buy in the store, you can actually fit a sump filtration system in it. The aquarium stand fits his needs and is something that would look good in his house sometime, somewhere out there in the great blue sea.
![]() bestproductreviews88 • September 16, 2020
bestproductreviews88 • September 16, 2020